Resonance: A Plague Tale Legacy Puzzles — All Solutions
Last verified: 2026-09-10 · Game version: Launch
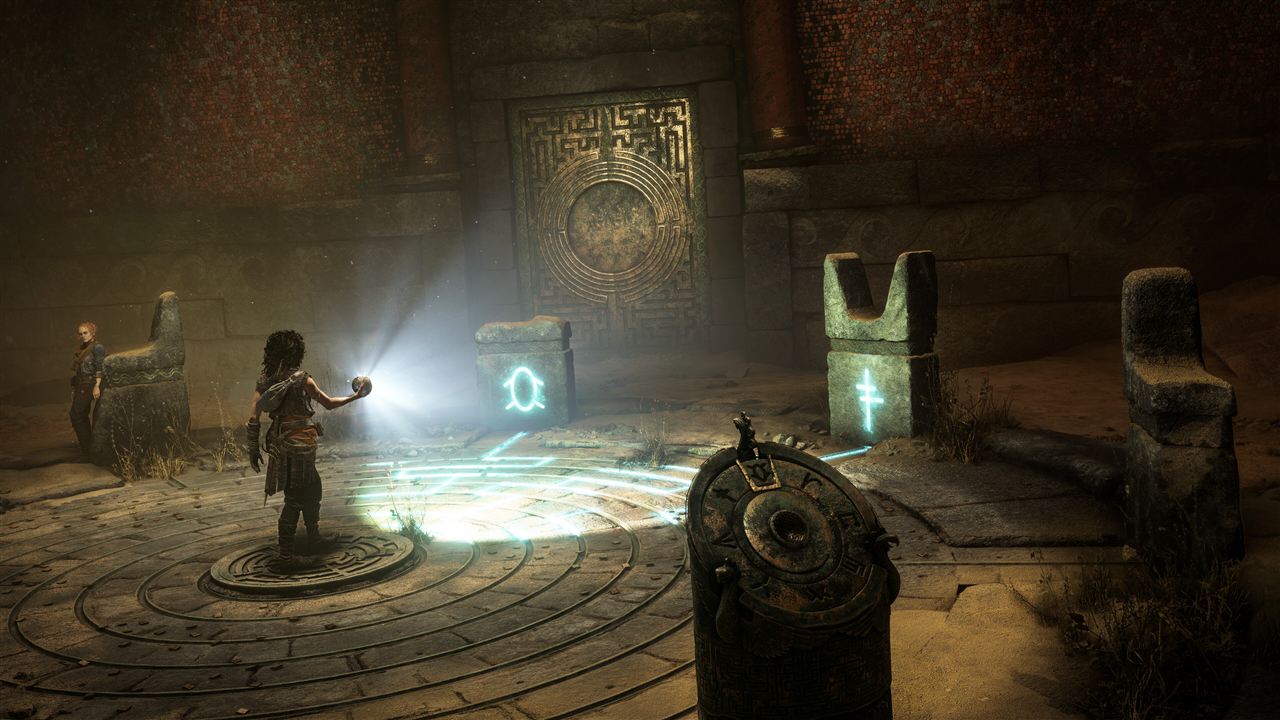
Stuck? This page collects the quick solution for every puzzle, organized by chapter — just copy the answer. For the underlying mechanics, see each chapter guide.
The game's puzzles boil down to a few kinds: light reflection (shine the orb at mirrors/pedestals), symbol matching (read the wall symbols, rotate pedestals / jump floor tiles) and lens chains (route light through lenses onto golden dials). Once you know the pattern, none of them are hard.
Which chapter are you stuck on?
Chapters with dedicated puzzles are Ch3, Ch4, Ch5, Ch6, Ch7, Ch10 and Ch11:
- Chapter 3 Those Before Us — lens platform puzzle (three latches)
- Chapter 4 From Hell It Rose — three-symbol / mirror / maze / spikes / bull mirror
- Chapter 5 Desolation It Wrought — door puzzle / scarab floor / statue door / mirror room / four-symbol temples
- Chapter 6 What Lies Beneath — labyrinth (Daedalus Key) / optional bull pillar
- Chapter 7 Death It Sowed — gate puzzle / Black Temple skull door / light puzzle
- Chapter 10 Parallel Paths — door puzzle (three pedestals + 6 symbols) / optional bull pillar
- Chapter 11 Patera — light beam / crank / lens
By Puzzle Type
- Light/beam puzzles: shine the orb at mirrors and pedestals to reflect light → Ch4 mirror, Ch7 gate, Ch10 door, Ch11 beam
- Lens chains: route light through lenses onto golden dials → Ch3 platform, Ch7 gate
- Sphere/three-color puzzles: rotate the orb's three colors to match gems → Ch5 door, Ch7 light
- Symbol/rune puzzles: read wall symbols, rotate pedestals / jump floor tiles → Ch4 three-symbol, Ch5 scarab floor
- Hero Tomb puzzles: three-color light opens the tomb for a blade → Ch5 Greek Sword, Ch6 Sica, Ch7 Khopesh, Ch10 Xiphos
Standalone Puzzle Pages (Quick Solution)
These 6 high-value puzzles have dedicated pages — click through to copy the answer:
- Three-Symbol Puzzle (Ch4) — answer Y-C-↑
- Bull Mirror Puzzle (Ch4) — pair the symbols, mirror them
- Statue Door Puzzle (Ch5) — three color-light trials
- Mirror Room Puzzle (Ch5) — red/blue/green reflection paths
- Black Temple Skull Door (Ch7) — skull press order
- Door Puzzle Three Pedestals (Ch10) — four-step light puzzle
All Puzzles (by Chapter)
Ch3 Those Before Us
Lens Platform Puzzle (three latches)
The temple platform is held by three latches — chain light through lenses onto three golden dials:
- Interact with the sphere pedestal in the centre to activate the light.
- Dial 1: use the lens on the right to shine straight onto the golden dial ahead.
- Dial 2: rotate the same lens left so the beam hits the lens on the platform left of the pedestal — walk to that lens and aim it at the dial on the left wall.
- Dial 3: in the northeast corner, find the broken lens on the ground and let Leni hold it up; return to the previous lens and shine into it — the beam bounces onto the final dial.
- Insert the sphere into the centre pedestal — the platform descends.
Ch4 From Hell It Rose
Three-Symbol Puzzle (door)
Shine the orb at the pedestal and follow the blue line on the floor to the symbol on the wall, then rotate all 3 pedestals to match. Answer (left to right): Y - C - ↑
Mirror Puzzle
Stand on the floor plate to make the light appear, then reflect in order: Left mirror → right mirror → front-left mirror → front-right mirror → door symbol
Maze Puzzle (light symbols)
Left = "O" / Right = "I"
Spike Traps
- Platform 1: left - left - left
- Platform 2: right - middle (jump over) - middle
- Spike wall: interact with the third wall slot from the left
Bull Mirror Puzzle
The white floor symbols (on red bases) pair up two at a time; the mirrors shine on the matching wall symbols:
- Pair 1 (bell + T): right mirror on the 1st icon on the front-left wall, left mirror on the 3rd on the back-right wall
- Pair 2 (reverse-S + triangle): left mirror on the 3rd on the front-right wall, right mirror on the 4th on the front-left wall
- After the bull lowers its hand, shine its armband for the new symbols "h" and "w": left mirror on the 4th on the front-right wall, middle mirror on the 1st on the front-right wall
Ch5 Desolation It Wrought
Door Puzzle (first door)
Interact with the central pedestal in the room, stand on the right floor plate, and rotate the orb's three colors to match the gems on the door.
Scarab Floor Symbols (dice door)
Follow the 5 floor symbols to jump to safe platforms; a wrong jump kills you: Dots(2) - Kraken(3) - Dots(3) - Flower(2) - Kraken(2) - Dots(2) - Kraken(1, jump left)
Statue Door Puzzle (three trials)
Stand on the floor plate lit by the roof beam and match the door's gems with the orb's three colors:
- Trial 1: red = left statue helmet / green = middle / blue = right statue hand
- Trial 2: green = top / blue = bottom / red = right statue eye
- Trial 3: first shine the front-right dust to reveal a gear, use the gear to have Leni hold it, jump the platform and align the right wall
Mirror Room Puzzle (line O door)
- Red = shine the right-most mirror → shine the right pillar
- Blue = left mirror → back-bottom mirror → middle mirror → left pillar
- Green = back-right mirror → back of pillar
Pedestal Room (3 socket symbols)
Insert the right symbol before each path:
- "inverted P" before the dice-icon path
- "h" before the "O with 3 lines" path
- "O" before the "O over a line" path
Four-Symbol Temples (four doors)
Each door has a symbol above it; find the matching hieroglyph inside each temple:
- Circle temple: destroy crystals with sunlight and place the colored lenses
- Square-with-dots temple: floor tiles — press Dots - Octopus - Dots - Flower - Octopus (wrong plates kill; at the gap, climb the wall ledge to shimmy across)
- Circle-with-three-slits temple: align beams — red = left statue helmet / green = above gate / blue = right statue spear
- At the main hall, set the symbols: Circle = O / Toothed Circle = M / Square with Dot = P — a wrong symbol traps Sophia and forces a restart
Ch6 What Lies Beneath
Labyrinth (Daedalus Key)
At the crystal dead-end, look left and destroy the fragile wooden box for a reflector; clear the path with sunlight and enter the labyrinth. Witness the Theseus vision and take the Daedalus Key.
Optional Bull Pillar Puzzle (secret blade)
With Daedalus' Key, go left through the tunnel after the corridor. Jump onto the first lit platform on the left and align the lights: Green = below the bull pillar / Blue = below the pillar you stand on / Red = back-right pillar The light reflects to a mirror, opening the tomb — go in and open the chest.
Ch7 Death It Sowed
Gate Puzzle (bone chamber)
Two cranks move two lenses to light the podium:
- Back crank (behind the rocks) → beam through the lens in front of the door
- Middle crank → line up the lens above the door → light lands on the podium
- Stand on the podium, use Splitting Light, match the three beams to the door gems.
Black Temple Skull Door
Shine the orb at the door to reveal green-dot hints for the press order: Right-most skull → 2nd from right → left-most → 2nd from left
Black Temple Light Puzzle
Stand in the light and shine the wall to find the blue-icon skull, move the light to it; rotate the base mirror to center and stand on the floor plate: Green = center mirror / red = left mirror / blue = right mirror
Ch10 Parallel Paths
Door Puzzle (three pedestals + 6 symbols)
- Light the waterfall-cave mirror (turn the middle wheel clockwise)
- Reflect it to the door in sequence
- After Faro shines the light, stand on the floor plate and watch the blue icon on the green metal
- Walk to the stele in the light, use the orb to reveal 6 symbols, and slide the red/green/blue crystals on the door to match
Optional Bull Pillar Puzzle (secret blade)
Destroy the vases to reveal a hidden blue gem. Use the pedestal in front of the bull statue, stand on the light platform in the right corner and align: Red = left / Green = middle / Blue = right (hidden below the vase) The crypt opens below — drop down and open the chest.
Ch11 Patera
Light Beam Puzzle
Release the right lever to let Faro take over, then pull the left lever to melt the dust.
Crank Puzzle
Push the weight to the lever to make a light shield → pull the lever to swing the light to the 2nd crank → turn the crank all the way.
The Last Lens
Stand on the elevator and wait for Faro to lift it, crouch past the petrified enemies, burn the dust off the chain with the orb, and turn the crank to the end.
Related
- Skull Door Puzzle Solution
- Chapter 4 Guide
- Chapter 5 Guide
- Chapter 7 Guide
- Chapter 10 Guide
- Chapter 11 Guide
FAQ
Q: Which chapters have puzzles in Resonance? A: Chapters 3, 4, 5, 6, 7, 10 and 11. The rest are pure traversal or story chapters with no standalone puzzles.
Q: What is the Chapter 7 skull door press order? A: Right-most skull → 2nd from right → left-most → 2nd from left, after shining the orb at the door to reveal the green-dot hints. A wrong press resets the sequence.
Q: How do you solve the Chapter 10 door puzzle? A: Four steps — light the waterfall-cave mirror (middle wheel clockwise), reflect the beam to the door across the three mirrors, boost Faro up and stand on the floor plate to reveal the blue icon, then match the 6 revealed symbols by sliding the red/green/blue crystals with the three pedestals.