Resonance: A Plague Tale Legacy All Charms — 30 Charm Locations
Last verified: 2026-09-10 · Game version: Launch
There are 30 charms in the game, in 6 types × 5 each. The more charms of a type you collect, the stronger the passive effect (stacking). Charms are shown under Skills in Sophia's menu.
Charm Types & Effects
| Type | Passive effect |
|---|---|
| Beads | Increase the chance archers miss Sophia |
| Arm Bands | Widen the parry window |
| Bracelets | Increase crit-damage chance |
| Trinkets | Chance to survive a fatal blow |
| Seals | Chance for enemies to drop throwables on kill |
| Pierced Coins | Chance to keep focus charge when using it |
Pierced Coins use the "offering bowl" shape, unlike ordinary chests. These 5 pierced-coin bowls are also the Theseus Echoes — see Theseus Echoes locations.
Locations by Chapter (all 30)
Ch1 Blood Ties — no charms (just play the story)
Ch2 Felons (2)
- Charm 1 (Beads 1): after Leni picks the lock and you squeeze into the backyard with pigs and chickens, immediately turn left — the chest is under the awning of the left building.
- Charm 2 (Bracelet 1): after the grapnel tutorial (pulling down the rooftop archer), shimmy to where the archer stood and turn left to see the chest.
Ch3 Those Before Us (4)
- Charm 3 (Beads 2): after sliding into the ruined building, go to the bottom, head back-left into the dark room in the right-back corner.
- Charm 4 (Arm Band 1): in the large statue area, enter the right ruin (warrior mural), face the mural and go left, drop through the hole in the floor.
- Charm 5 (Bracelet 2): from the statue area, climb to the opposite hilltop; in the room where Leni breaks the door, check the small room to the left of the door.
- Charm 6 (Seal 1): after Leni lifts the log and you crawl the tunnel, slide down to reunite and pull down the barricade with the grapnel, then turn left at the very next junction. ⚠️ Easily missed.
Ch4 From Hell It Rose (2)
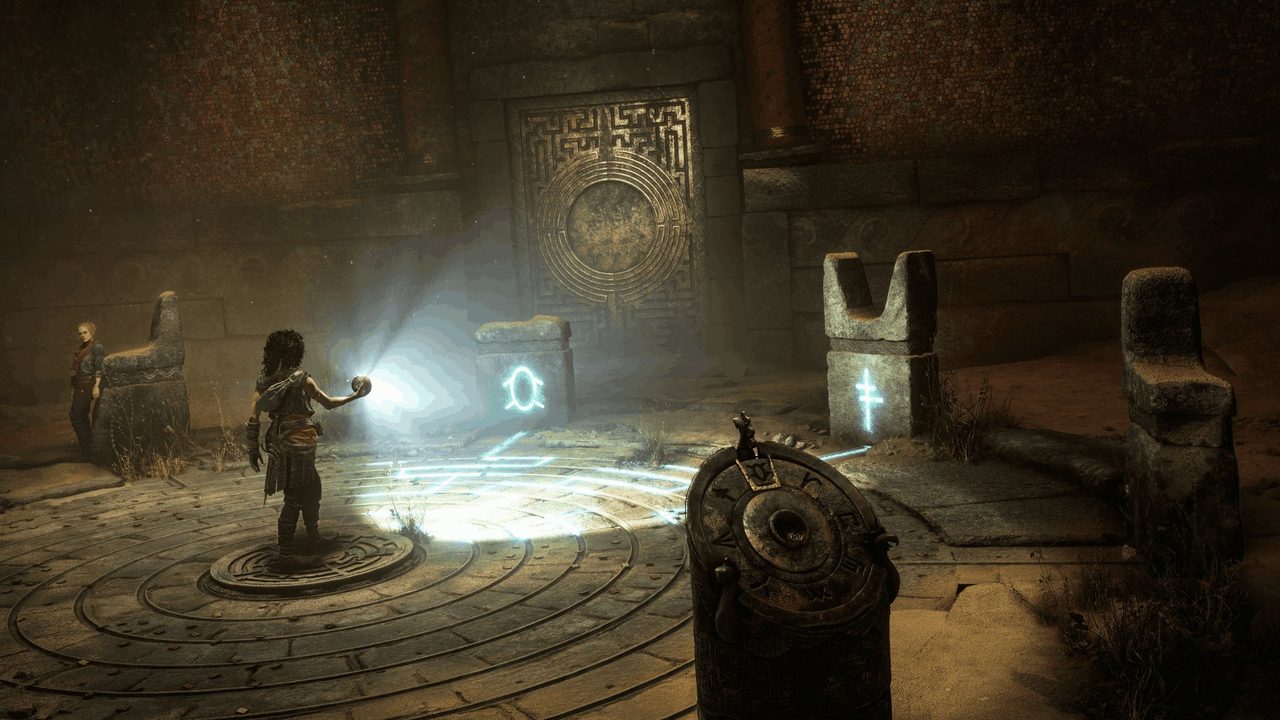
- Charm 7 (Arm Band 2): after the three-pedestal symbol puzzle (solution Y-C-up arrow), in the large statue open area turn right, climb the rock and drop down — near the hidden camp tent.
- Charm 8 (Trinket 1): the room where Leni works the lever triggers an ambush; clear the enemies, squeeze into the next room and drop down — the chest is by the right statue base.
Ch5 Desolation It Wrought (5, the densest chapter)
- Charm 9 (Trinket 2): after the first wave of enemies, turn left, pull down the wooden barricade with the grapnel, go through the lower ruins to the abandoned camp, climb the left rock to the upper tent.
- Charm 10 (Seal 2): from Charm 9, keep going into the ruins, find the pillar-top archer, kill him and check the left corner below his perch.
- Charm 11 (Bracelet 3): in the four-pedestal room, look at the icon above the door and pick the dice route; after separating from Leni, jump the platforms and turn left at the bottom to climb the ruins.
- Charm 12 (Arm Band 3): continue the dice route, solve the spike-platform puzzle to the beach, then go to the beach's right corner (near the boat by the water).
- Charm 13 (Pierced Coin 1): back to the four-pedestal room, take the three-line-circle door, cross the bridge and pick the left-most path, climb the ladder to the top and interact with the axe statue.
Ch6 What Lies Beneath (3)
- Charm 14 (Seal 3): after escaping the monster in the gear area, enter the lantern corridor; break the crate at the end-right to get the mirror Lens, burn the corrosion, and the Seal chest is to the right of where you used the Lens.
- Charm 15 (Beads 3): after the petrified-person cutscene at the cliff, take the dark path on the right.
- Charm 16 (Pierced Coin 2): from Charm 15, drop off the cliff, don't take the right door — go straight to the door at the end and interact with the axe offering bowl.
Ch7 Death It Sowed (5)
- Charm 17 (Beads 4): after Sergio's death cutscene to the beach, the chest is by the small boat on the shore, to the right of the central boat.
- Charm 18 (Arm Band 4): on the way to the Black Temple, two grapnel swings across the big gap; after landing turn right down the stairs to the beach, clear enemies, check the left corner.
- Charm 19 (Pierced Coin 3): after dropping into the hole, slide under the door and swing two grapnel points, then jump right to the platform to the right of the big green door.
- Charm 20 (Bracelet 4): from Charm 19, return to the previous room and jump platforms; find the broken staircase with the big tree on the left, squeeze through, the chest is behind the tree.
- Charm 21 (Trinket 3): after the end-of-chapter zipline drops you into the arena, watch for a gap on the left leading under the central platform, go into the darkness.
Ch8 Resonance — no collectibles at all
Ch9 Night Has Come (2)
- Charm 22 (Seal 4): after escaping the monster into the cave, at the three-way junction where Sophia pauses to mourn, take the left path and squeeze through; the chest is by a corpse.
- Charm 23 (Pierced Coin 4): in the Minoan palace, climb the stairs past the petrified crowd to the top, turn left and squeeze through the wall gap; the bowl is in the back room.
Ch10 Parallel Paths (3)
- Charm 24 (Beads 5): in the jungle area with Faro, hug the right wall and follow the rope leading inland — the charm glows white by the small river.
- Charm 25 (Trinket 4): follow the ground cable to the cave with a ladder, climb, zipline into the camp — the chest is by the second tent on the right.
- Charm 26 (Pierced Coin 5): at the far end of Daedalus' workshop, jump onto the chain-hung mirror, face the wall to find a grapnel point, pull down the counterweight to open the hidden tomb, and interact with the anvil-shaped bowl. The 5th pierced coin — triggers the In The Name Of My Kin trophy.
Ch11 Patera (2)
- Charm 27 (Arm Band 5): after crossing the large lens with the guiding light beam, the small room on the right has a hanging lens and two soldiers; clear them and the chest is by the mirror on the right.
- Charm 28 (Bracelet 5): after lifting Faro onto the ledge, go to the other side of the room; the chest is in the back-right corner by the elevator lever.
Ch12 Fading Light (1)
- Charm 29 (Seal 5): after using the light beam to lower the bridge and killing the puppet across, follow the slope down; the chest is in the right corner at the bottom.
Ch13 As One (1)
- Charm 30 (Trinket 5): near the end, climb to the high spot where two lenses form a light-beam corner; the last chest is by the light at the top. Collecting it triggers the Superstitious trophy.
Linked Trophies
| Trophy | Requirement | Triggers at |
|---|---|---|
| Superstitious | Collect all 30 charms | The last charm in Ch13 |
| In The Name Of My Kin | Collect all 5 pierced-coin bowls | The 5th in Ch10 |
Good news: chapter select lets you collect all charms retroactively. The chapter-select screen shows each chapter's collected count, making it easy to find what you missed.