Chapter 7 Death It Sowed — Puzzle Solutions & Walkthrough
Last verified: 2026-09-10 · Game version: Launch
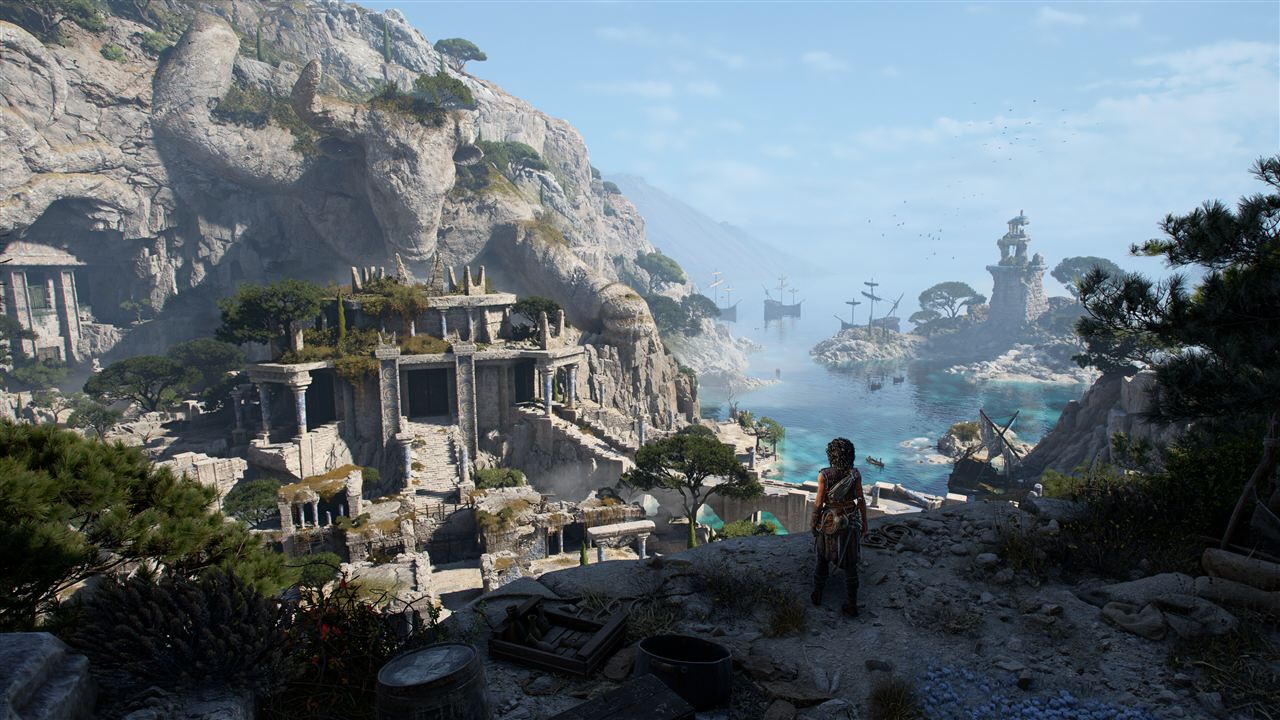
Stuck on a Chapter 7 puzzle? The answers: the skull door opens by pressing rightmost skull → 2nd from right → leftmost → 2nd from left (shine the orb at the door first); the gate puzzle takes the back crank then the middle crank, then Splitting Light from the podium; the light puzzle ends on green = centre mirror / red = left mirror / blue = right mirror.
Chapter 7 Death It Sowed crosses a massive battlefield into the Black Temple. There are 3 puzzles, 32 collectibles and one chapter achievement. Chapter 8 Resonance has no collectibles, so it's folded into this chapter's progress.
Collectible Overview
| Type | Count | Details |
|---|---|---|
| Blade | 1 | Khopesh |
| Artefact | 4 | Tarot Card / Kill Onyx / Stained Mosaic / Kouros Puppet |
| Charm | 5 | Bead #4 / Arm Band #4 / Pierced Coin #3 / Bracelet #4 / Trinket #3 |
| Resonance Points | 22 | — |
Route (5 sub-chapters)
- Back to Leni — follow the dirt path to a huge pit of ruins and water. Grapnel along the ledge, descend into the pit with a second hook (grab the Resonance Point just before it) and enter the bone chamber. Solve the two-crank gate puzzle (below), then defeat the soldier beyond.
- The whole damn army — the beach battlefield, the collectible-dense stretch. Keep right into the ruins, clear the soldiers, grapnel the door and crawl under the gap for a Resonance Point. Drop into the hole and follow the underground passage out; skip the dead-end stairs and keep left past the ruined minotaur's head. Two soldiers guard the temple doors. Along the way: the Tarot Card, Bead #4, Kill Onyx, the Khopesh (white-pillar area) and Arm Band #4.
- A stage of skulls — the Black Temple. Solve the skull door, then the light puzzle. Before entering, go right by the cliff edge down a narrow path for the Stained Mosaic. Inside: the room of suspended jars, then the circular room.
- The arena — a circular room with no collectibles. Kick enemies into the central pit (grapple/kick); save the armoured mace brute for last.
- Its ruins — the waterway. After the big drop, slide under the broken gate, swing two grapnels and jump right for Pierced Coin #3; before the zipline, turn right onto the wooden platform for the Kouros Puppet; after the zipline, climb and turn left for Trinket #3. Up the debris ramp, jump the gap platforms to the twisted tree.
Puzzle Solutions
Gate Puzzle (Back to Leni, bone chamber)
The gate has no light on it at first — two cranks fix that:
- Use the crank at the back of the room (behind the rocks) to move its lens so the beam passes through the lens directly in front of the door.
- Use the crank in the middle of the room to line the second lens up with the lens above the door — the light lands on the podium.
- Stand on the podium and use the Sphere's Splitting Light.
- Align the three coloured beams with the gemstones on the door. The gate opens.
Black Temple Skull Door
Shine the orb at the door to reveal green-dot hints, then press the skulls in the revealed order:
Right-most skull → 2nd from right → left-most → 2nd from left
A wrong press resets the sequence — just press again.
Black Temple Light Puzzle
- Defeat the first enemy group in the circular room. Stand in the light on the right and shine the orb at the wall to reveal a blue-icon skull — interact with it to move the light source.
- Kill the soldiers who burst in (including the archer).
- Repeat on the left pedestal to reveal a second skull.
- Interact with the pedestal by the doors twice — the second interaction moves the mirror near the hole (left of the green gem) to the centre.
- Stand on the floor plate and switch to coloured beams: green = centre mirror (hits the gem below) / red = left mirror / blue = right mirror.
- Platforms rise — jump and drop into the central hole, grapple down, slide under the broken metal gate, and catch yourself with a midair grapple.
Stuck? The Usual Culprits
- Skull door won't open: pressing skulls by feel without shining the door first. Shine → read the green dots → press in order.
- Gate puzzle: the back crank is easy to miss — it's behind the rocks at the back of the room, not near the door.
- Light puzzle: interacting with the pedestal only once. The mirror only moves to the centre on the second interaction, and you must stand on the floor plate before switching beams.
Blade Location
- Khopesh: in the battlefield's white-pillar area, by the skull in the back-left corner — stand on the metal plate and align the three light colors to open the door. Technique "Deep Bleed": the final hit of a combo deals damage over time, a boss-fight workhorse.
Artefact Locations
- Tarot Card (Present): top-right corner of the beach, interact with the corpse.
- Kill Onyx (Past): after the underground section, turn right around the corner, crouch past the rock, in front of the grate behind the ruins.
- Stained Mosaic (Past): turn right at the hilltop temple entrance.
- Kouros Puppet (Past): in the waterway, when you should turn left to the zipline, first turn right onto the wooden platform.
Charm Locations
- Bead #4: the beach, in the crate by the second boat.
- Arm Band #4: after the double-grapnel gap, take the right path down to the beach, clear the enemies, check the corner crate.
- Pierced Coin #3: after dropping down the big hole, slide past the door, swing 2 grapnels, then jump right.
- Bracelet #4: immediately up the next staircase, on the left.
- Trinket #3: after the zipline, climb the platform and turn left to the crate.
Chapter Achievement
- Death It Sowed (complete Chapter 7)
Chapter Checklist
- Resonance Points ×22
- Blade ×1 (Khopesh)
- Artefacts ×4
- Charms ×5
- Puzzles: 3 (gate / skull door / light)
- Missable: none
Related
- Skull Door Puzzle Solution (Black Temple)
- All Puzzle Solutions
- All 22 Resonance Points (Ch7)
- Khopesh Blade Location
- Chapter 6 Guide
- Chapter 8 Guide (no collectibles)
- All Blades
- All Charms
FAQ
Q: What is the Chapter 7 skull door press order? A: Shine the orb at the Black Temple door to reveal green-dot hints, then press: right-most skull → 2nd from right → left-most → 2nd from left. A wrong press resets the sequence.
Q: How do you solve the Death It Sowed light puzzle? A: Stand in the light on the right and shine the wall to reveal a blue-icon skull; repeat on the left pedestal for a second skull; interact with the pedestal by the doors twice so the mirror moves to the centre; then stand on the floor plate and align green = centre mirror, red = left mirror, blue = right mirror. Platforms rise and you drop into the central hole.
Q: How many collectibles are in Chapter 7 Death It Sowed? A: 32 — 1 blade (Khopesh), 4 artefacts, 5 charms and 22 Resonance Points. None are missable; Chapter 8 has no collectibles of its own.